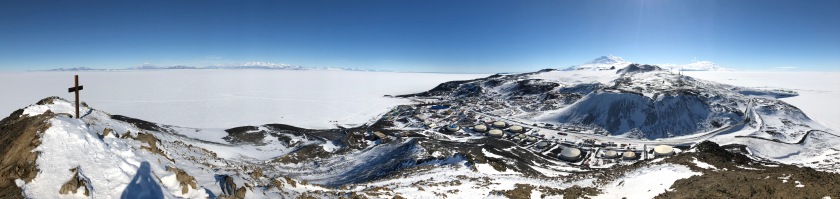
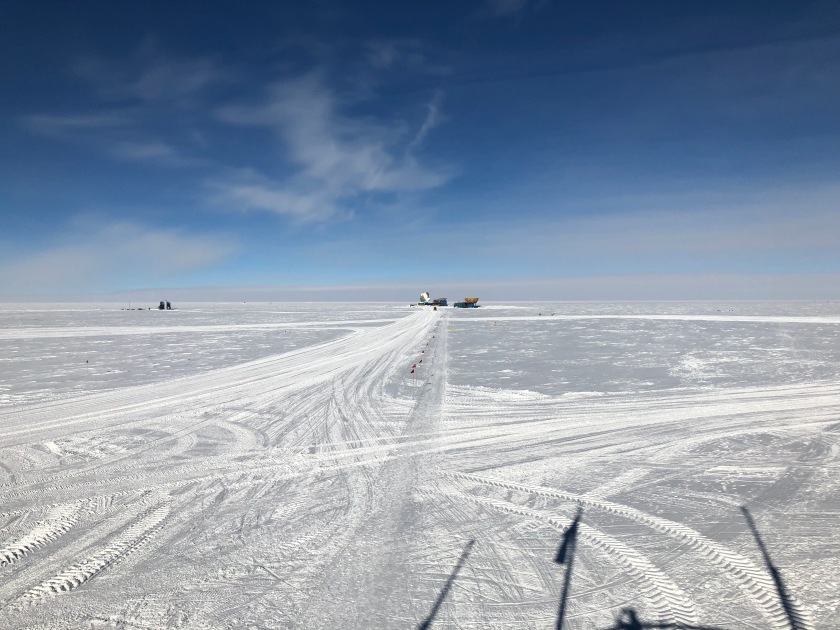
Now, finally time to talk about some of the work that’s been keeping me busy the past 3 weeks! Each day we walk out to the Dark Sector Laboratory (DSL), the building where the South Pole Telescope is located (about 1km from the station). You can also find the BICEP telescope, Keck Array, and Icecube Neutrino Observatory in the Dark Sector area of the South Pole, where ‘dark’ simply means that radio use is restricted due to potential interference with the experiments.


The part of the telescope we’ve spent most of our time working on is the SPT-3G camera. The camera itself is responsible for focussing and imaging the microwave light that’s reflected from the large 10-metre primary mirror (and smaller secondary and tertiary mirrors). Weighing over a tonne, we first needed to carefully lower the camera down from the optics bench that couples the camera to the telescope’s dish. Once on the ground, we could finally begin the long process of disassembly and reassembly (twice!).

While it might be many times larger than cameras we’re used to using day-to-day, the SPT-3G camera looks surprisingly like a gigantic DSLR. This is because the design is actually very similar; a long cylindrical section containing lenses focussing the light, and a rectangular section at the back contains detectors for measuring the light.


These two halves of the camera are contained in whats called the ‘optical cryostat’ and ‘detector cryostat’. These are essentially huge fridges under vacuum for keeping components of the camera at cryogenic temperatures. The detectors themselves need to reach nearly -273 °C to operate properly (only half a degree above absolute zero!). In order to reach these low temperatures, each cryostat is made up of a series of shells that gradually step down the temperature towards the centre.

SPT-3G is designed to measure microwave light in 3 different bands; 90 GHz, 150 GHz, and 220 GHz. In order to maximise the optical throughput in each band equally, each lens is covered with a special anti-reflective coating. Over the past year some major advancements have been made in the anti-reflective coating we want to use, requiring us to replace each of the 3 lenses in the camera (including the cryostat window). At almost a metre in diameter, each lens is made out of heavy alumina. Even though they look a solid cream colour, each lens is almost completely transparent to the microwaves we want to measure. They focus the microwave light in much the same way that glass lenses in an optical camera do.

Perhaps the biggest upgrade of the SPT-3G camera this season is the installation of ten new detector wafers. Each of these detector wafers contain around 270 pixels, with each pixel able to measure microwaves in three different bands and two polarisations. A lot of my work this year has been spent testing these new detector wafers, providing feedback to the fabrication process to help improve how the detectors operate. A couple of the detectors we tested in Toronto made the cut and have ended up down here at the South Pole to be installed in the camera this year!


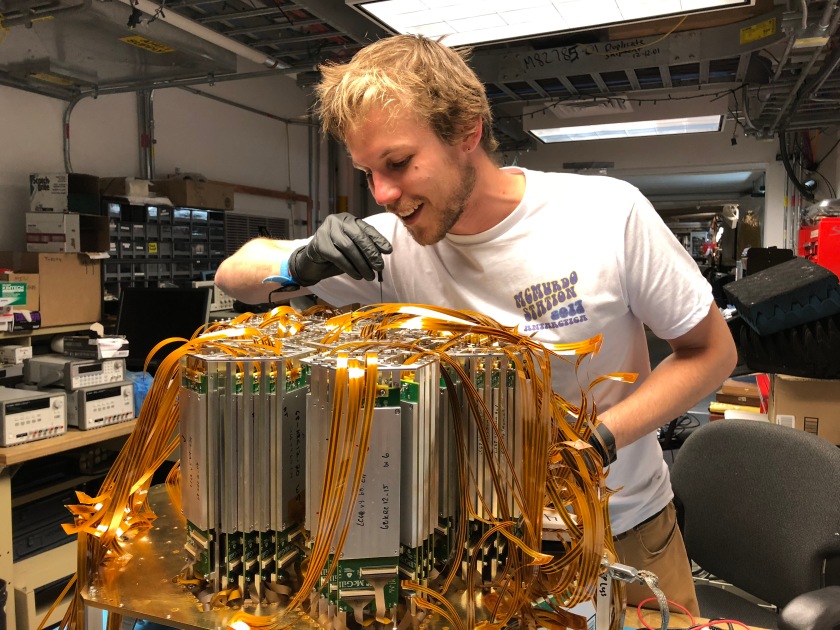
Due to the way we read out the detectors in the camera, each detector wafer needs to be attached to a set of ‘LCs’. These LCs contain a series of inductors and capacitors that allow us to measure the signal on the resistive detectors in parallel. Another grad student and I spent a week holed up in our little clean-room at DSL assembling each of the ten detector wafers, using tweezers to carefully place hundreds of tiny 0-80 screws. Not for the faint of heart, a single dropped screw onto a wafer can potentially wipe out hundreds of detectors (or worse, crack the wafer).


Once we finished assembling each of the ten detector setups, we were ready to start populating them back into the focal plane. Each LC board is attached to a Niobium-Titantium (NbTi) ‘stripline’, with delicate ultrasonic solder joints connecting each end. These striplines carry the signals from the many detectors to SQUID amplifiers inside the cryostat. Assembling the focal plane was a slow and delicate process, where a broken connection in any of the 120 striplines can potentially force us to take everything apart again for repairs.

Finally after routing and heat-sinking all striplines, the camera focal plane was ready to be re-installed inside the detector cryostat.

At this point the optical cryostat had been completely disassembled, and so it was possible to see the tiny white alumina lenselets above each pixel facing out of the detector cryostat to where the large lenses would eventually be placed.


With the help of four chain hoists and an engine jack, the heavy SPT-3G camera was back together again and ready for the second cool-down of the season. The first step is to put the cryostats under vacuum for 24 hours, removing all the warm gases inside that would prevent the stages from cooling to cryogenic temperatures. Once a low enough pressure is reached, we switch on the two Helium pulse tubes (special refrigerators that help us get to -223 °C and -269 °C inside the cryostat). Due to the huge amounts of material that need to be cooled, it takes almost a week for everything inside to reach base temperature.

We have currently been cooling for 4 days, with 3 days to go until we can start testing all the new upgrades we’ve made to the camera. In the meantime, I’ve finally found time to write these long-overdue blog posts and catch everyone up with some of the exciting work we’ve been doing!

The station is starting to look pretty festive here, gearing up for some big Christmas celebrations. In my next post I’ll look at what life has been like here at the South Pole, with photos from around the station.

Happy Holidays everyone!
– Matt